Buying an Airplane
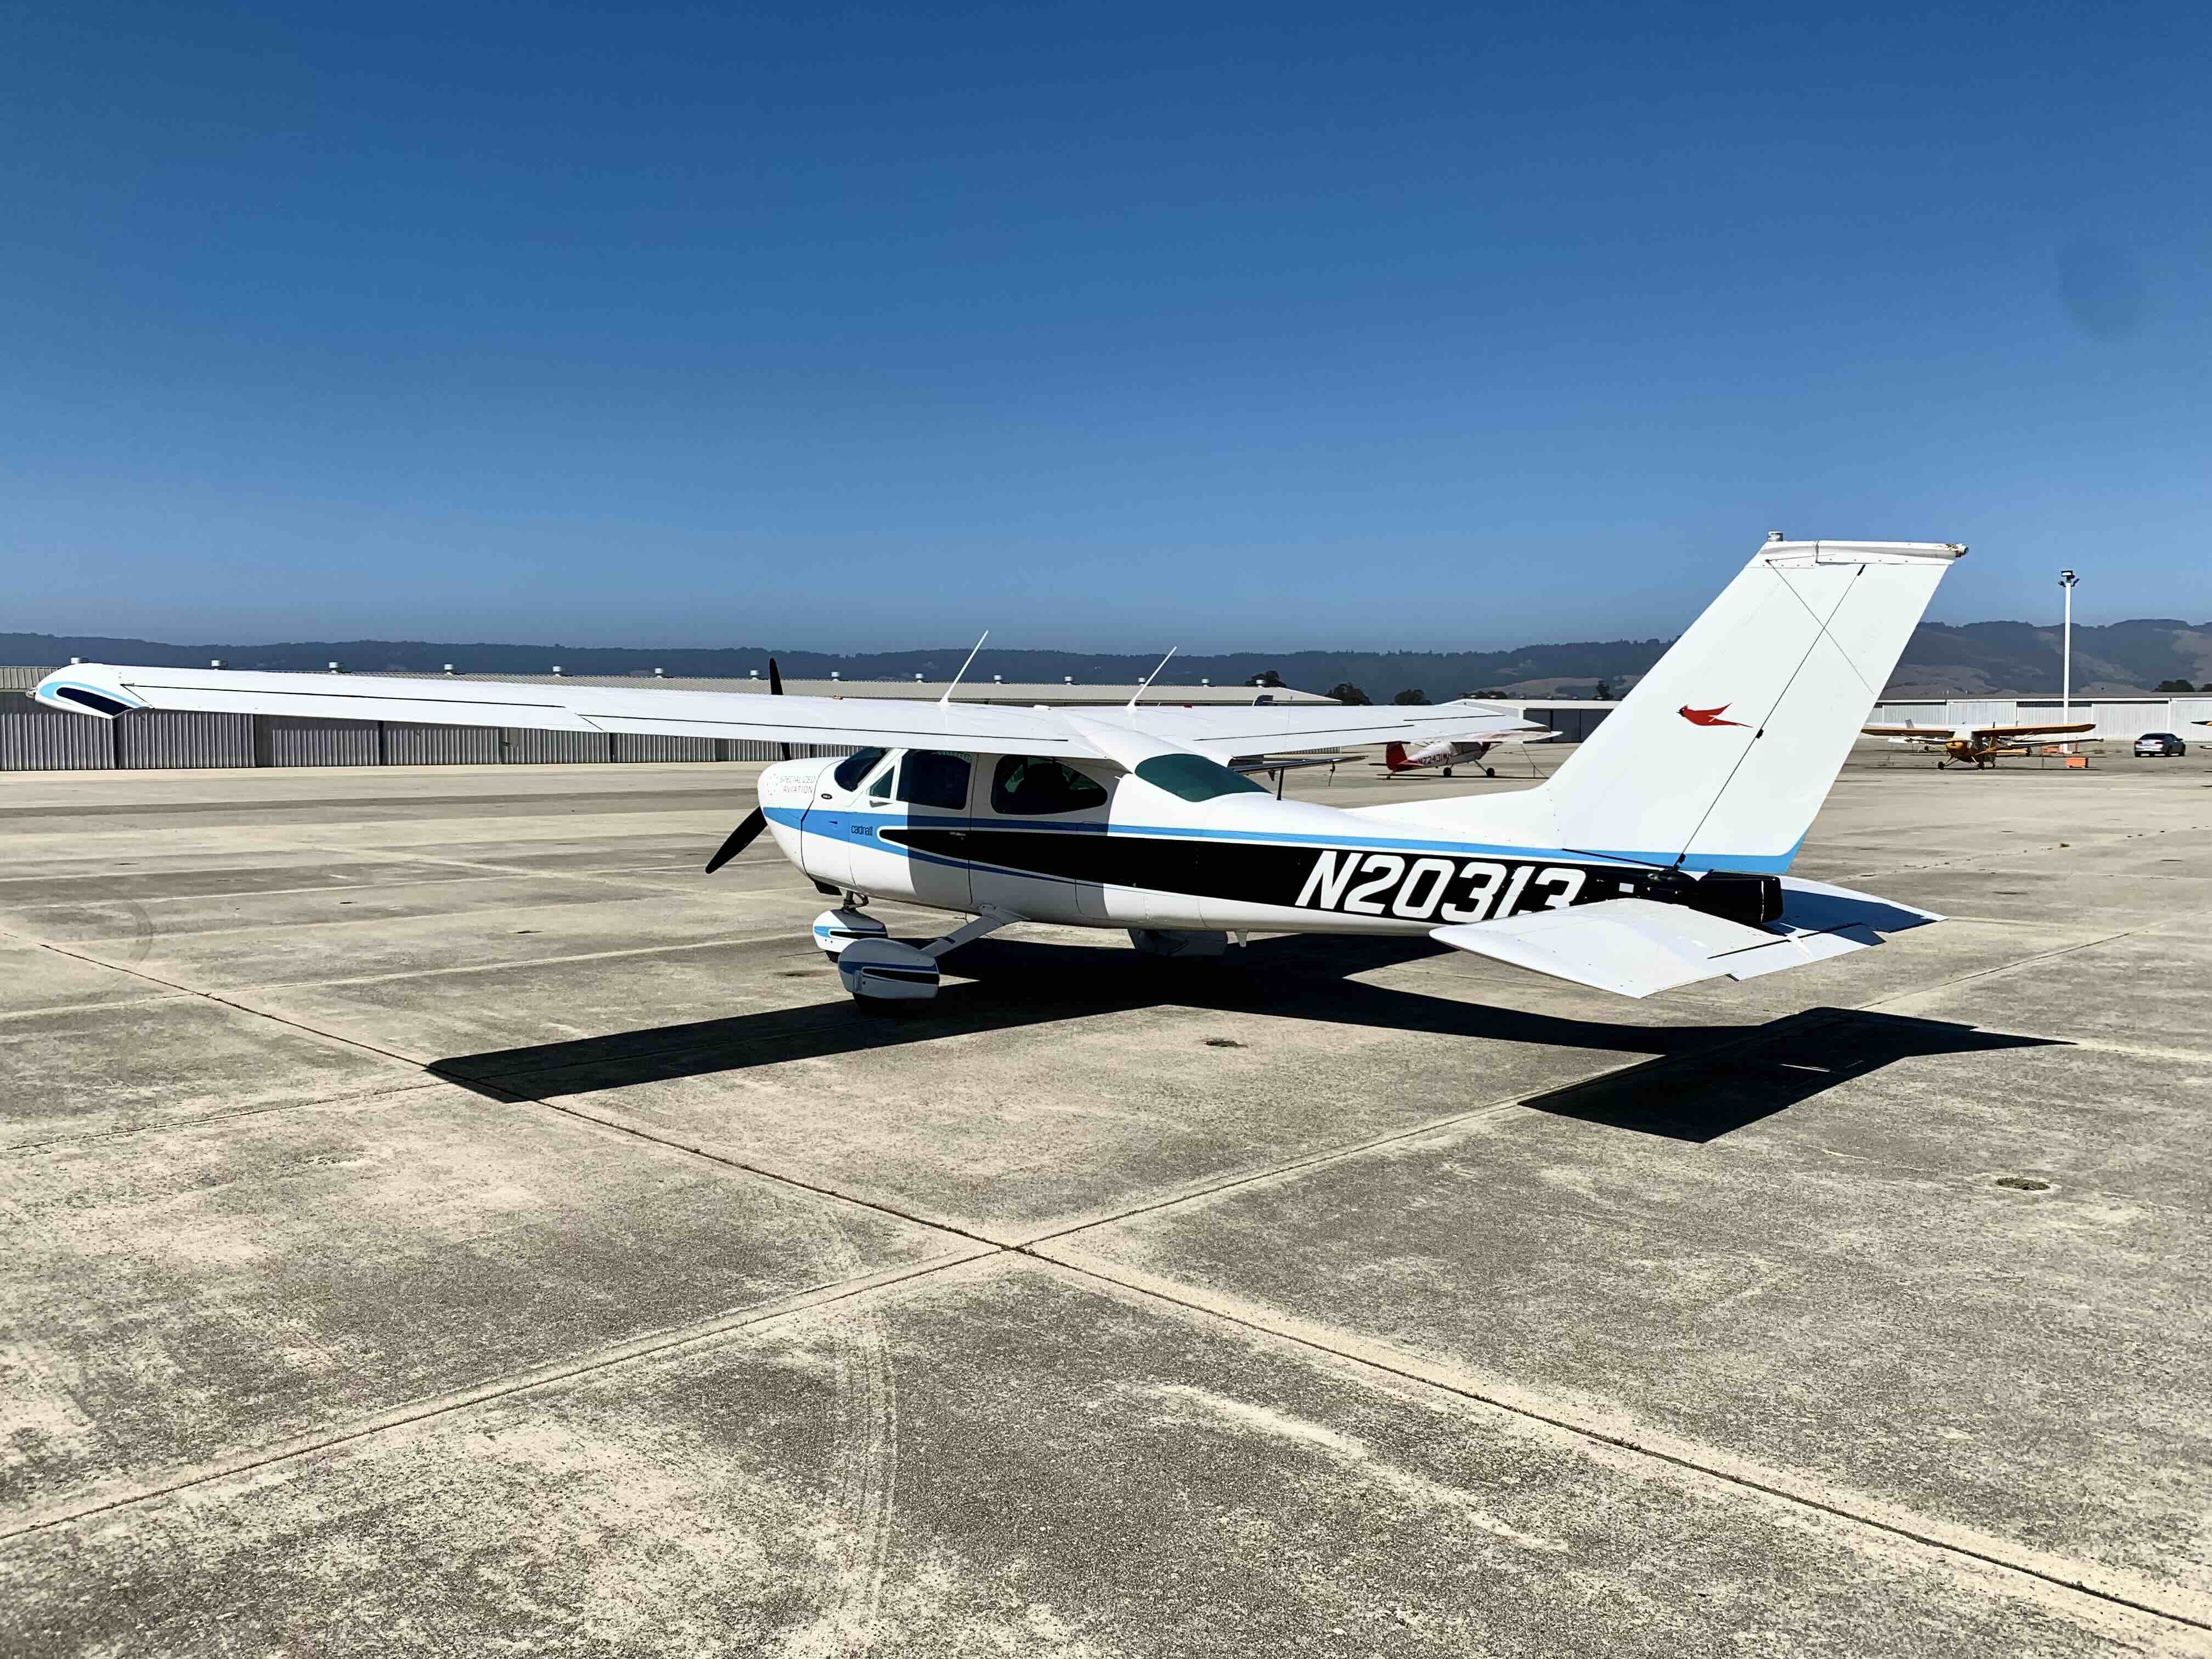
This is something a little different from the normally scheduled programming. I recently purchased a 1977 Cessna 177B Cardinal after renting for the last 6 years. There are a lot of articles and videos talking about how to choose your plane, but I didn’t see very much content on the steps to actually purchase the plane nor what order to do things in. This article is on the mechanical steps of actually buying the plane, not just choosing a plane.
I am not a flight instructor, nor is there any warranty implied by what is in this document. Your experience may change based on your requirements. This is just me documenting the process I took when buying my plane.
These are the steps that I took in the order that I took them.
- Choose a plane.
- Visit the plane and fly it.
- Set up a purchase agreement.
- Open an escrow account.
- Perform a pre-purchase inspection.
- Close escrow.
- Obtain insurance.
- Obtain parking at your home airport.
Choose your Plane
Choosing the right plane for you is the first step to buying a plane. There are kind of two parts to this, choosing a make and model, and choosing the actual plane itself. This is the process I took to choose the plane I did.
Make and Model
My mission is usually shorter sightseeing flights with a friend or two to enjoy the views around the bay area, while occasionally going on longer trips to see family in Oregon. I want something that is comfortable for shorter local flights, while being capable of longer cross-country flights. Since this is my first plane, I also wanted something that wouldn’t be too difficult to maintain.
I started looking at what kinds of planes were available on trade-a-plane, using the “advanced” search to limit the selection to single engine planes, and then see what was available. I looked at several models, including the Piper Cherokee 180 and Grumman American AA5 models, but ultimately decided to stick with Cessna. My requirements led to me took at Cessna 172’s, 177’s, and 182’s.
Choosing the Plane
After narrowing down the models and makes, it is time to choose the plane itself. I studied each of the model years and variations of the models to understand what changes were desirable and what to look out for.
Once I was getting more serious about buying a plane, I started crawling trade-a-plane, barnstormers, and controller, looking at what was available and recording information about each plane in a spreadsheet. I filtered out planes that were completely out of budget, but to better understand the market, I still kept some that were slightly out of budget. I ignored advertisements that didn’t include photos of the plane or the price of the plane.
For each plane, I recorded
- the tail number
- the make, model, and year
- the date I recorded it
- the asking price
- the engine model, horse power, and modifications like power-flow exhaust STCs
- the engine time since overhaul
- the prop time since overhaul
- the total time on the airframe
- the useful load
- my opinion on the state of the exterior and interior appearance
- whether it was IFR capable
- whether it had a GPS and which GPS
- whether it had engine monitoring and what engine monitor
- whether it had an autopilot and which autopilot
- avionics on the plane
- cylinder compressions
- general notes, including whether they listed ADs
- link back to the advertisement
- the date that the plane was taken down and if it was sold
This helped me more objectively track the markets and see what planes were selling, or whether they were overpriced. I also looked into how much it would cost to make some of the modifications if I were to buy a less expensive plane and do it myself.
Once I had it narrowed down, I drew up another page on my spreadsheet to estimate the variable and fixed rate costs of the planes to better understand how much I would be paying for varying number of hours of flight. This spreadsheet took into account the purchase price, tax, oil and fuel burn, parking, maintenance and engine reserves, and an extra hourly amount to pad things.
Visiting the Plane
Once I saw a plane that looked reasonable and had what I wanted, I called the owner and set up an appointment to meet that weekend and see the plane in person.
This was as much to get a sense of why the plane was for sale as it was to see the plane itself. Many advertisements try to sell you on how great the plane is, which begs the question why they are selling it.
In this case, the plane was owned by a flight school that also had Cessna 172’s and Diamond DA40’s on the flight line. The other planes were being flown roughly 20 to 30 flights over a two-week period, while the 177 was being flown four or five times. The plane wasn’t making money for the flight school. Asking the instructors, they didn’t like teaching in it for primary training because it had a constant speed propeller and cowl flaps, which adds extra workload to a new student. The DA40’s are different enough from the 172 to make the extra workload more tolerable.
This was a plane that was flying regularly, just not enough to make it viable in a flight school. It was being maintained like a flight-school plane without having the living daylights beaten out of it by primary training students learning how to land.
They let me look over the plane and take it up with one of their instructors where I did some stalls, slow flight, and steep turns to get a feel for the airframe.
Purchase Agreement
After visiting the plane and flying it, I called the owner after mulling it over for a few days. He put together an initial purchase agreement based on the AOPA purchase agreement template. You will likely need to sign a purchase agreement and provide a deposit before going through with a pre-purchase inspection.
There were a couple of points we negotiated on, but overall, this was a pretty smooth process.
Opening Escrow
Once we had signed the purchase agreement, I opened an escrow account and added the $5000 purchase deposit.
I decided to go with escrow since I wasn’t completely sure about all of the forms that were needed and wanted someone who knew that they were doing involved. I used Aero-Space Reports, as recommended by AOPA.
Pre-Purchase Inspection
A pre-purchase inspection is not regulated by the FAA, unlike an annual or 100-hour inspection. You’ll need to know enough about the plane to know what you want to have inspected. I went in knowing as much about the plane as I possibly could, learning about issues with Cardinals in general and how the specific plane was cared for. I had built up a timeline of who owned it at what times, how many hours per years they flew it, and what modifications and maintenance they did.
The main concern for Cardinals is the carry-through wing spar with the 2023-02-17 AD. If a plane fails that, it becomes a very large, expensive, paperweight. The Cardinal stabilator can also loosen. It’s important to check for excessive play.
This specific plane has been loved for most of its life, receiving several STCs, including an autopilot, engine monitor, powerflow exhaust, various fairing speed mods, stabilator boot, and complete LED lighting to name a few. Unfortunately, its owner died in 2007 and it sat for 8 years on the California coast until 2015 before being sold to a broker by the estate. The engine was overhauled a month before the passing of the owner, so it sat and corroded during that time before it could even be broken in.
Since 2015, the plane has flown 1000 hours, and recently has averaged around 140 hours per year. The oil analysis results showed as the plane went from, “the engine could suffer catastrophic failure at any time” to, “everything is fine” as it wore the rust and corrosion off of the internal parts.
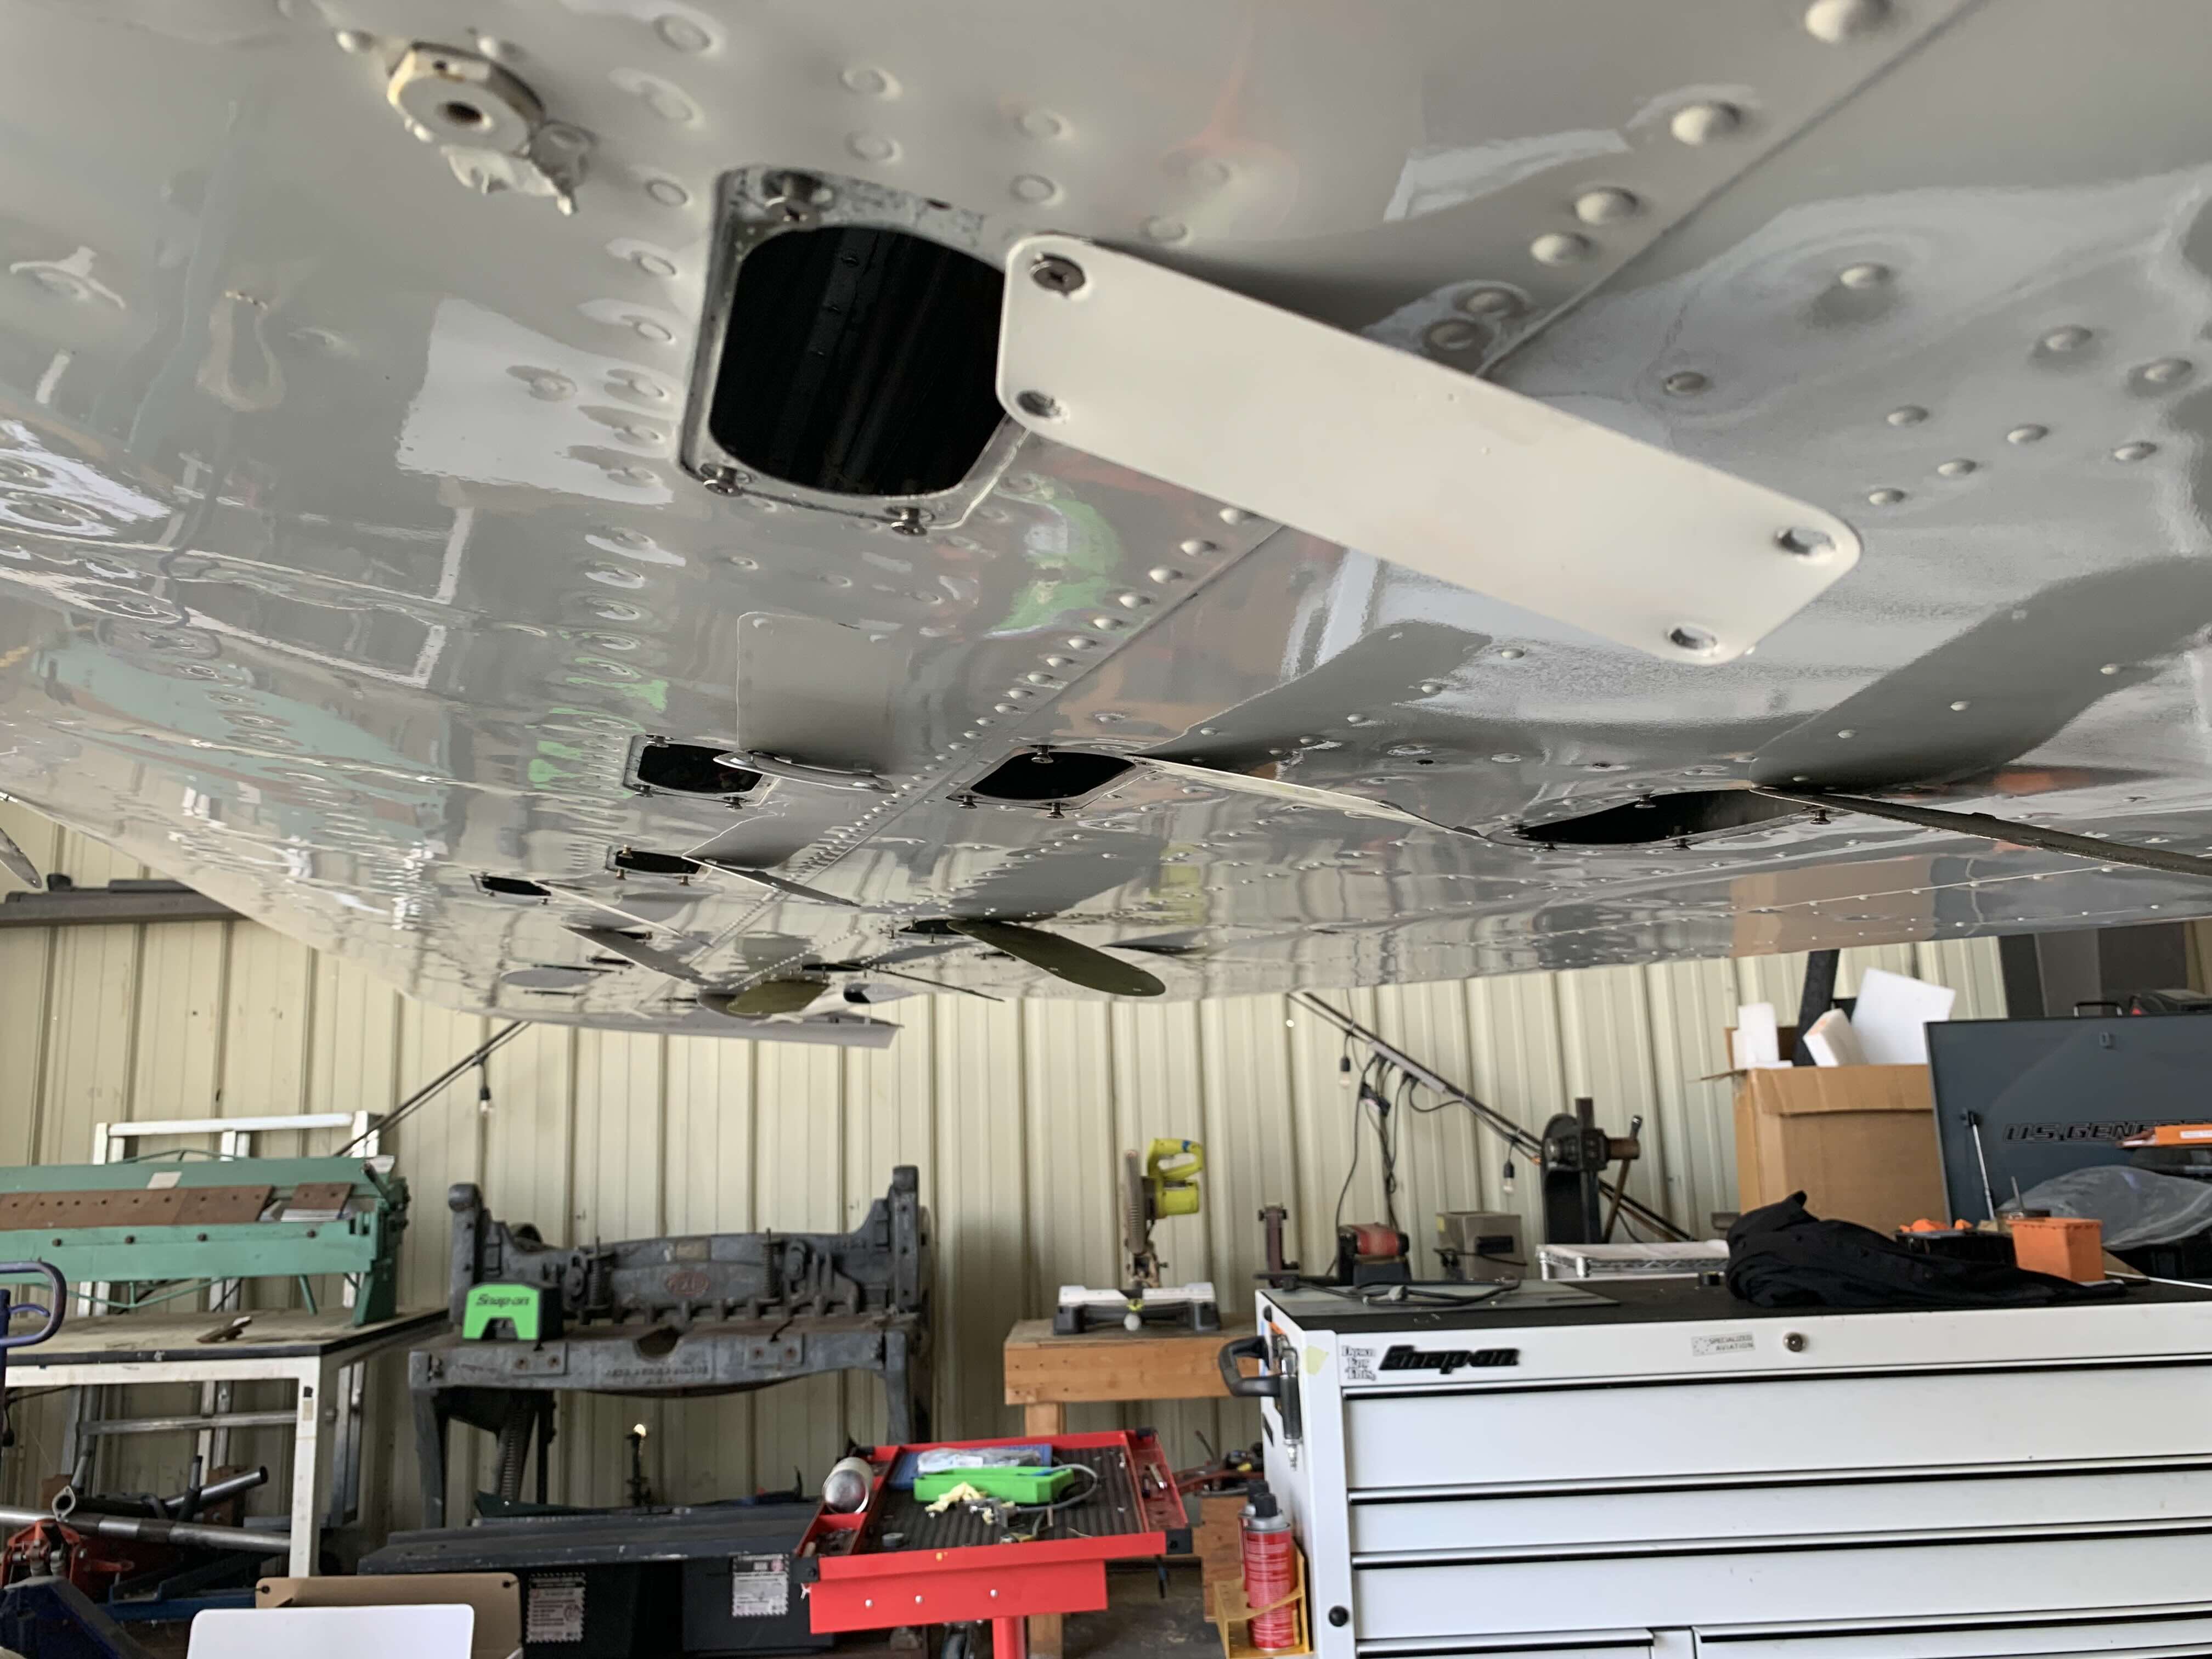
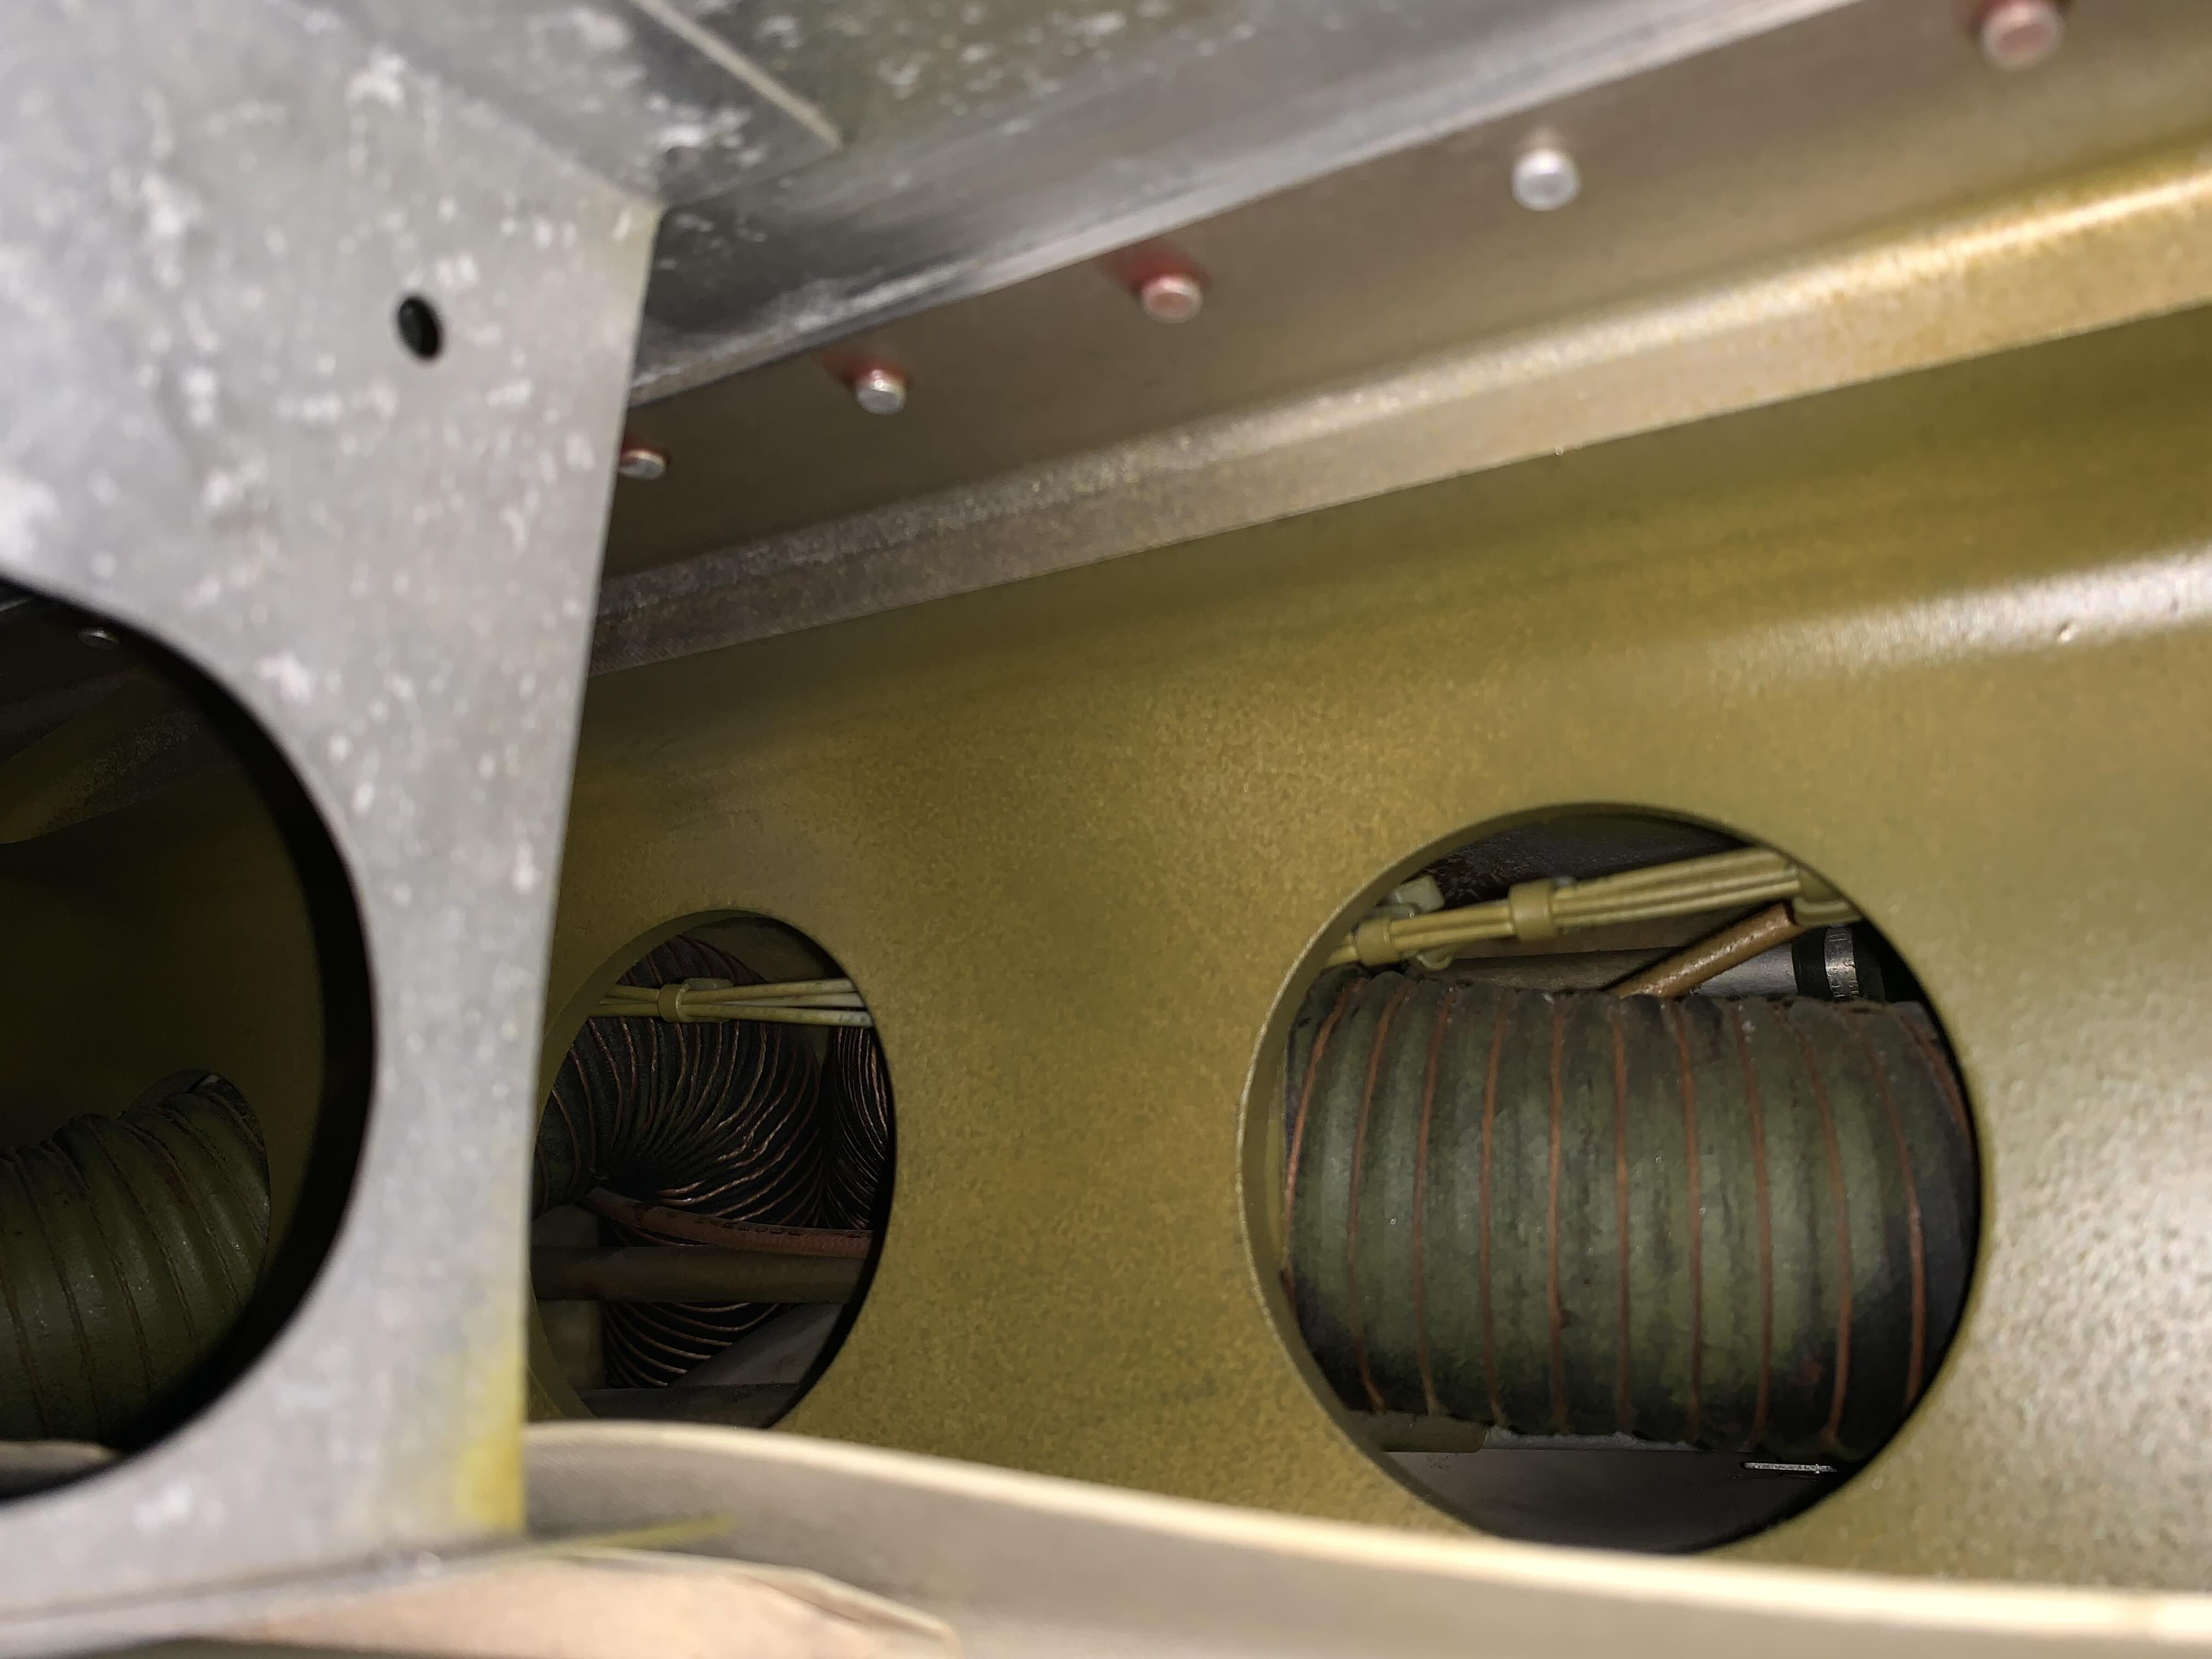
Special attention was given to the frame and airframe, looking for corrosion and corrosion repairs.
As expected, the borescope showed shallow pitting inside of the cylinders. The compression and oil analysis numbers indicated that things had stabilized.

Overall, the plane was in good shape and the mechanic recommended going through with the purchase. We found a few items for repair, including some corrosion under the passenger seat, a loose bolt holding the carburettor bowl on, and a wire rubbing on the control cables in the tail, which were fixed by the seller.
I will likely fumigate the plane with ACF-50 a couple of times during annuals to prevent future corrosion issues. The engine will likely burn more oil than one that didn’t have the pitting, but it has 1000 hours on it, the oil analysis is clean, and it has good compression so until that starts to deteriorate, it should be okay.
The plane is a 48 year old contraption that vibrates its way into the sky. No plane is perfect and each will have its own history, so be realistic.
Closing Escrow
Closing escrow was pretty automatic. I wired escrow the remaining funds, including the escrow fee and sales tax. The seller sent the necessary info to the escrow. They asked me to sign off on releasing the funds, and finally sent the registration info to the FAA.
Insurance
I talked with the insurance company long before getting to this step. Once I had an idea of which models I was interested in, I called up a few insurance companies and ran through a few scenarios using the range of prices that I was seeing for hull values, and The spreadsheet helped guide my low, mid-range, and high-cost hull value estimates when running the scenarios with the insurance agent. They can also let you know where you can get insurance on that plane given your hours and flight experience, and what additional training you would need to get in order to fly that plane if you are changing makes and models.
Since I had already received quotes, nothing here was unexpected. The quote on the exact plane was similar to what the initial scenarios outlined. The Cardinal is similar enough to the 172’s that I have been flying that they only required that I get a checkout without a specific hour requirement. I wanted a bit more, so I went for two and a half hours of flight training in it to get more comfortable with it.
Parking
At least at Palo Alto, I’m required to have insurance and the registration of the plane. This meant that I needed to own and insure the plane before I could get parking for the plane.
Before buying the plane, it’s worth calling around and verifying availability of parking to ensure that you are able to park the plane somewhere after purchase. When I called, there is a lottery waitlist for the hangars with no guarantee of getting in anytime soon. As it was, there were two open tie-down spaces available.
Care and Feeding
I don’t think anyone has said otherwise, but planes are expensive to own and operate. It would be unwise to not have an idea of how you are going to pay for it.
With the way I work, it is important for me to separate the money for each purpose. There is a lot of money reserved for the plane though, so it’s also important to ensure that it’s not just sitting as cash, losing value. Once I bought the plane, I opened a separate Fidelity account where I am keeping funds allocated to the plane. I’m keeping roughly $30k in a higher yielding (3.96% at the time of writing) cash equivalent account so that I can replace the engine and perform other maintenance items as they come up. Anything over that amount is going into the Fidelity S&P 500 mutual fund.
I am charging myself wet hobbs time to fly based on the expected hourly rate computed from my spreadsheet. After I fly, I transfer the necessary amount to the plane account, much like paying to rent the plane. Since the rate is usually more than the amount to fuel it, I usually just subtract the amount paid for fuel from the amount I pay into the plane account.
Conclusions
Overall the process ended up being pretty smooth, but things move quickly. If this is your first time buying a plane, as it was mine, I would highly recommend talking with as many people as you can about the process, but the folks you hire and pay are the folks who are on your side.
How much did it all cost?
The cost of the plane was $149,000, escrow was $760, and the pre-buy inspection was $805.
While I was going through with the purchase, the county increased their sales tax rate from 9.25% to 9.75%, so I ended up paying $14,528 in sales tax.
So all told, it came out to roughly $165k to purchase the plane.
How long was the process?
I started putting together my spreadsheets in mid 2024. Plane prices tend to “refresh” annually around EAA airventure at Oshkosh. Last year before Airventure, comparable planes were going for around $124k, before jumping to $140k afterward. Searches before that were just dreams.
I visited the plane for the first time in mid April and let the owner know I was interested in moving forward a week later. I had scheduled a pre-buy inspection, but they were busy and couldn’t get to it for a month, so I decided to go with someone else for the pre-purchase inspection. Closing took place at the end of May and I had it home and parked by mid-June.
From start to finish, the purchase process took about two months.
It the midst of this, my cat was diagnosed with diabetes and it’s also the busy season at work. Without the postponement and other life events, it would likely have been possible to go through the process in a month.
How did you get it home?
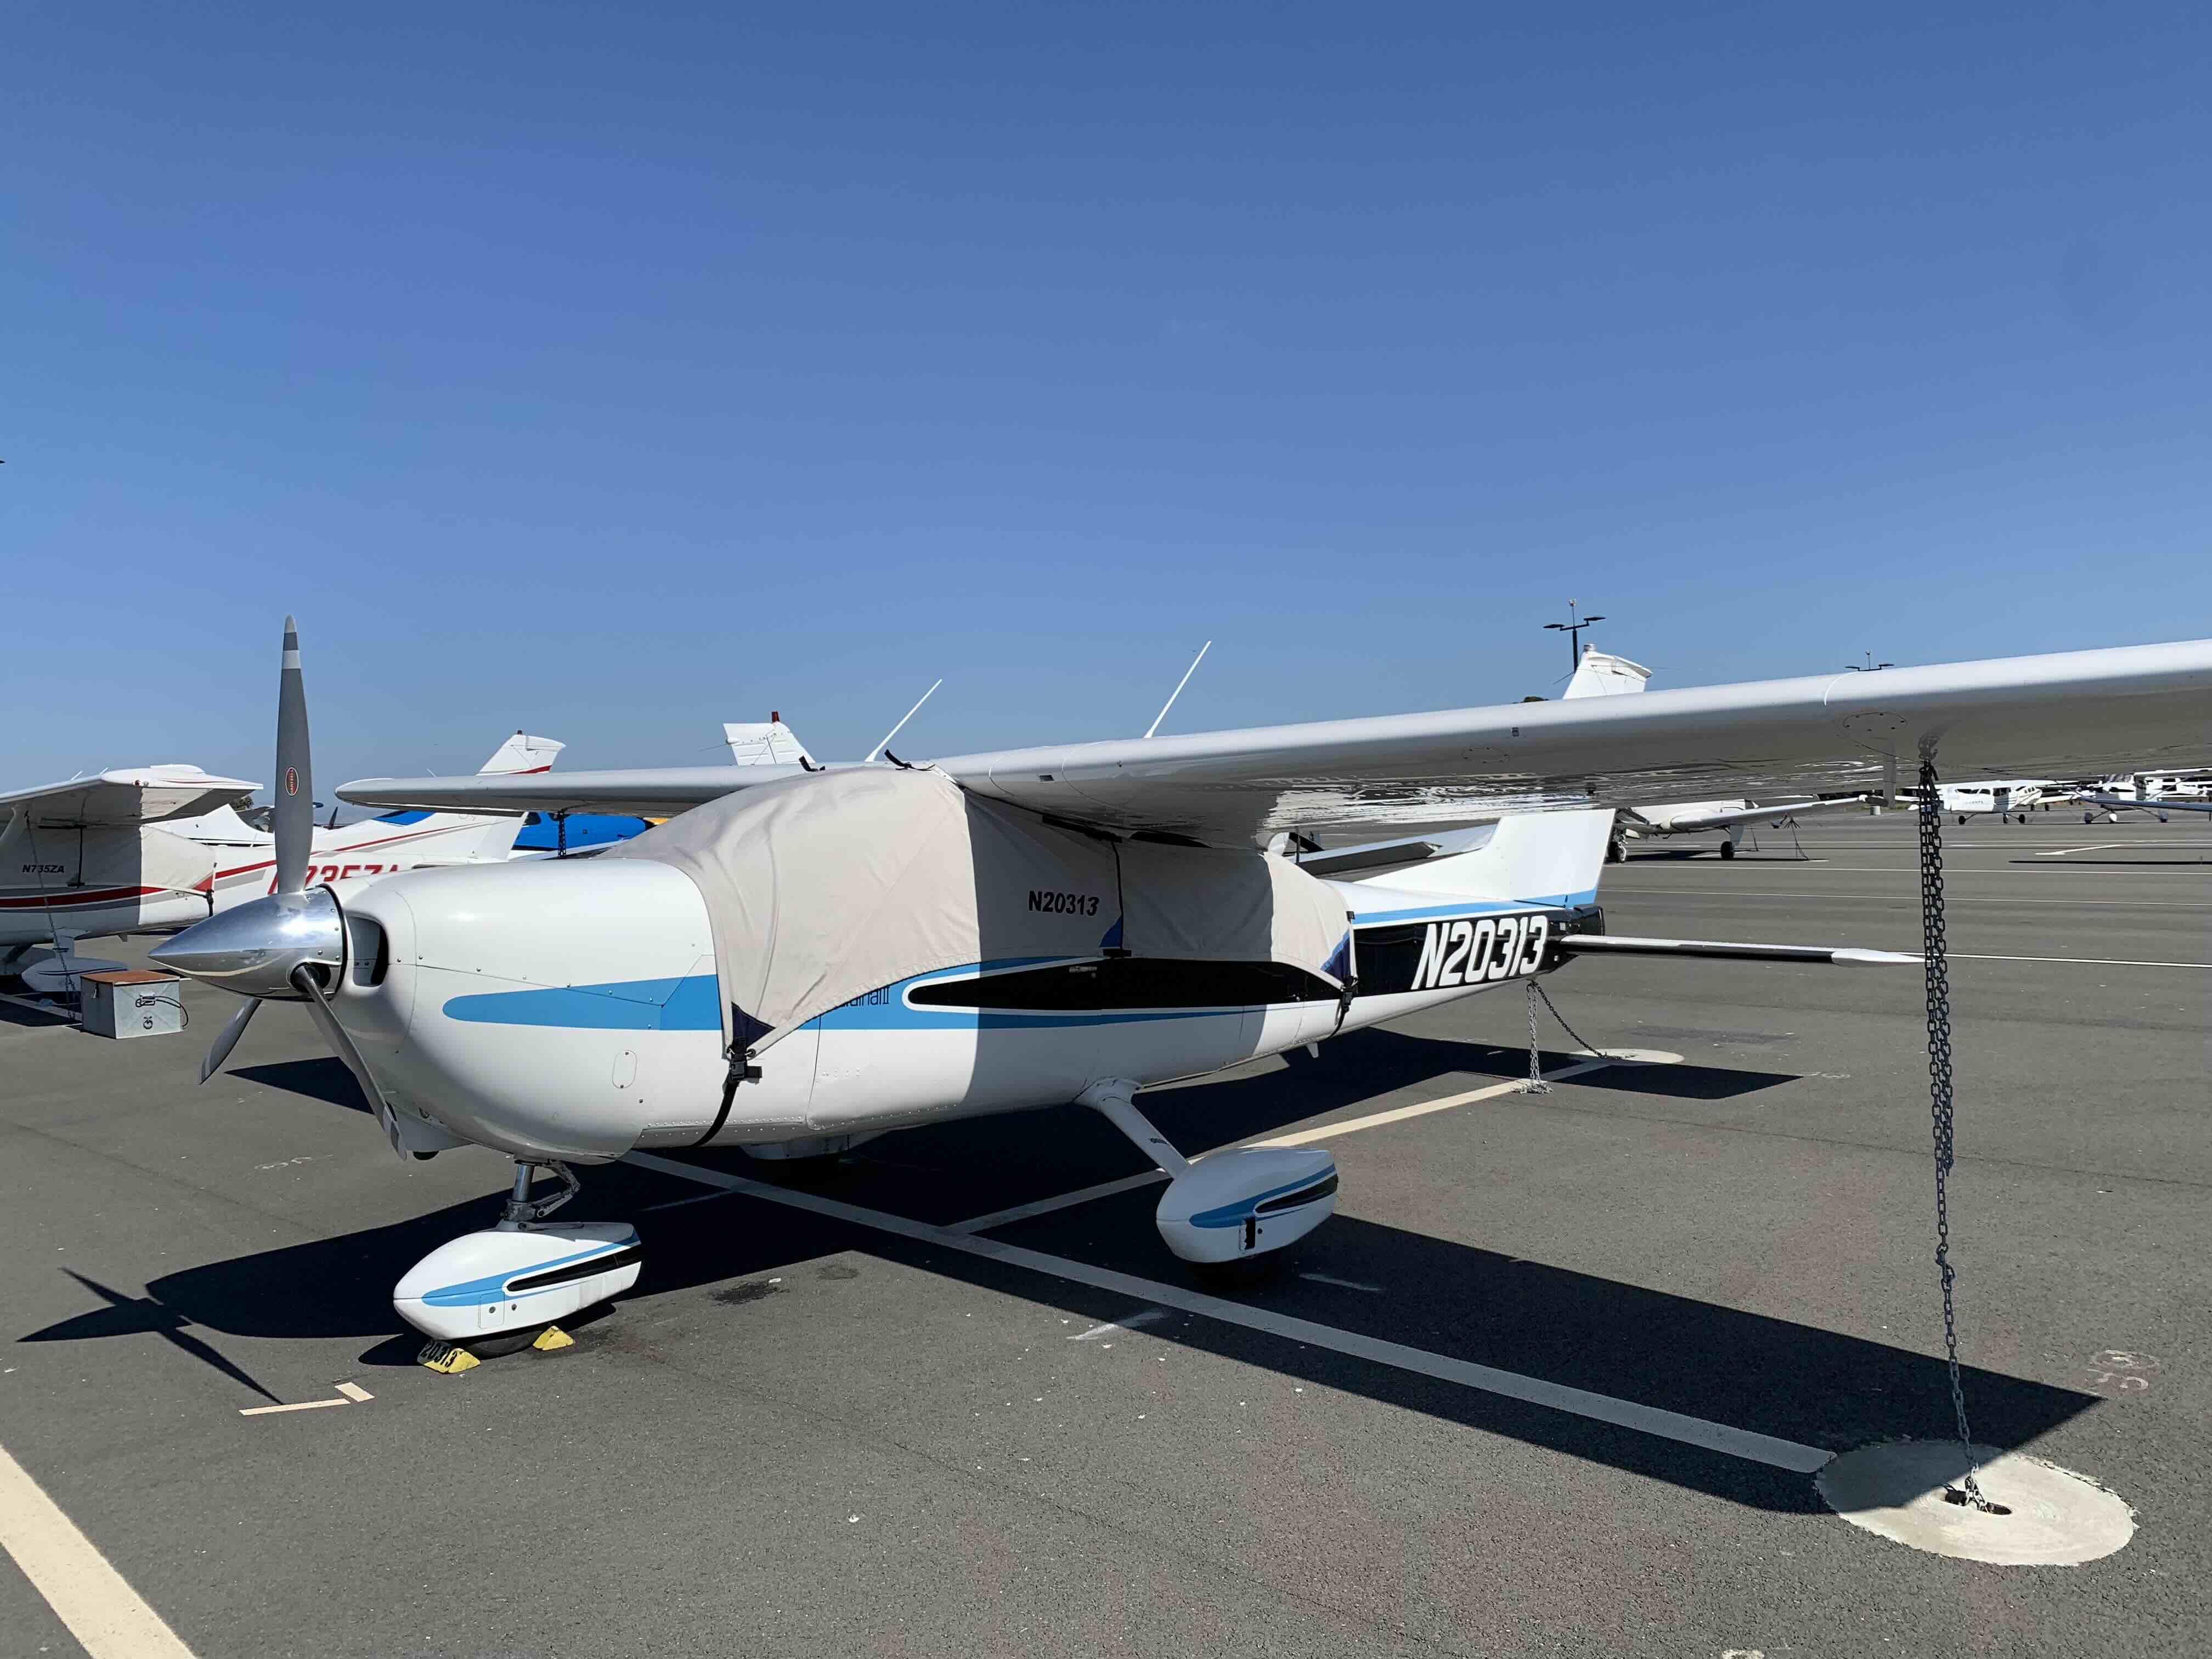
It’s a plane, I flew it.
More seriously, this was one of the reasons why I wanted something nearby. The prior owner operated a flight school, so I drove down on the weekend and hired one of the CFI’s who had taught in that plane to get my checkout.
Once everything was done, my friend drove me down to the airport to pick up the plane. He drove back to Palo Alto and I flew it back.